
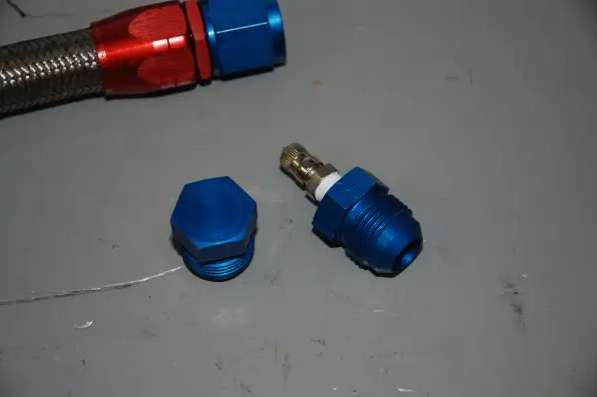
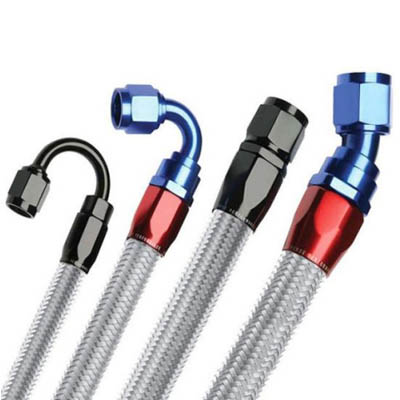
Want to test your AN hose assemblies for leaks before you install them in the car? This guideline will help you do that. It includes a set of AN fitting plugs plus another set of plugs modified with valves. The kit is easy to use—just screw the appropriate AN plug in one end of the assembly and a valve plug in the other. Attach a compressed air (or nitrogen) source to the valve plug to fill the hose, then dunk the whole assembly under water. This Pressure Test Kit includes plugs for -3, -6, -8-, -10, -12, and -16 AN hose and fittings.
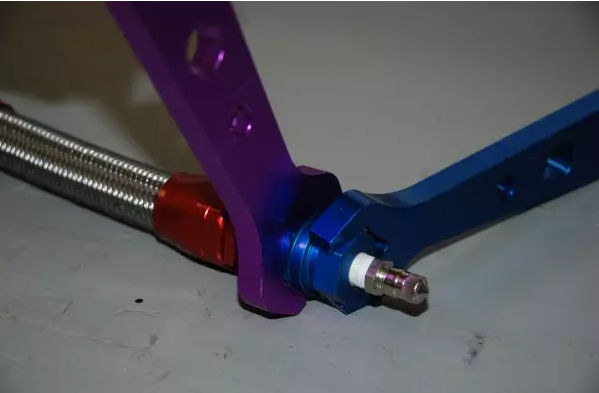
Using aluminum hose end wrenches, assemble the test fittings. Tighten securely so the adapters seat in the hose ends. Make sure you double-check the valve to ensure it’s tight.
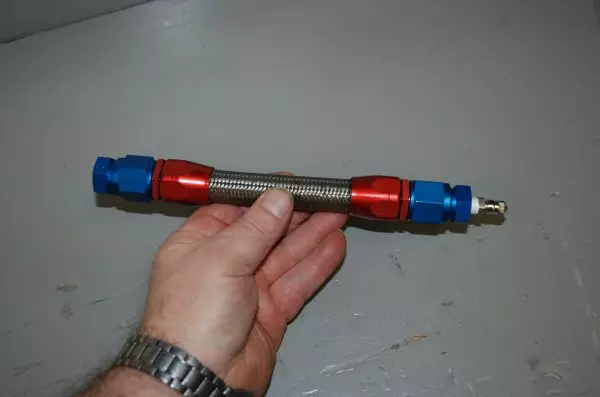
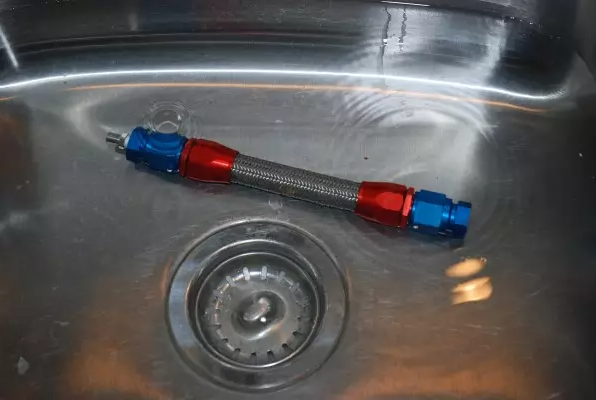
This is what a finished hose assembly looks like with a set of pressure test adapter fittings installed.
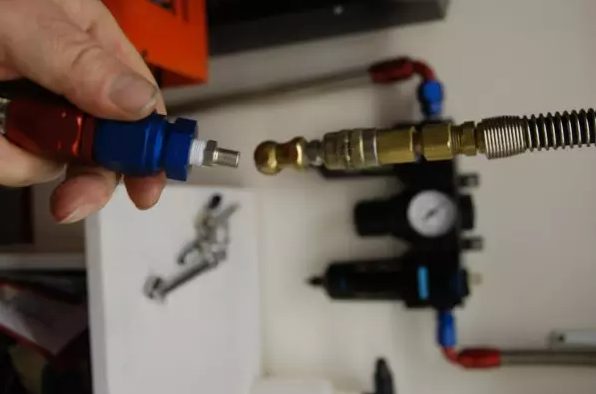
Most hose manufacturers recommend that the hose assembly be tested at twice the maximum operating pressure. To do this, air up the assembly by connecting the valve end to an air compressor (compressed nitrogen works too) and check the pressure with a good old-fashioned tire pressure gauge.
Place the air-filled hose assembly under water and check for leaks. In this photo, you can see the telltale evidence of two leaks. Luckily for us, one leak originated at the valve and the other was from a test plug that wasn’t seated properly. Once we sorted out the leaks, the hose assembly passed with flying colors.
Tools Required
Pressure Test Kit
AN Hose Wrenches
Tire Pressure Gauge
Post time: Sep-27-2023